What to open, cut, mist and harvest, in the order it actually happens. Written for a ready-to-fruit kit on a kitchen shelf, which is the grow almost everybody should start with.
Day one: what arrives and what you do about it
A ready-to-fruit kit is a block of substrate that mycelium has already finished eating. It arrives white and firm, sometimes with a few pinheads already forming in the corners. The only urgent decision on day one is where it will live, because moving it afterwards disturbs the first flush more than people expect.
Pick a spot at the temperature on your label, out of direct sun, off a draughty windowsill and not in front of the kitchen extractor. A shelf in a north-facing room, a bathroom that gets used, or the top of a pantry all work. Put the box on a plate or tray, because you will be spraying water near it twice a day.
If the block has a dry, skin-like surface, that is normal and not a fault. Do not soak it, do not scrape it and do not refrigerate a kit that is already fruiting.
The single most common day-one mistake
Opening the bag completely because you want to see the block. The bag is what holds humidity against the surface. Cut the slits, then leave it alone for two days.
Days 2 to 7: slits, misting and the first pins
Cut four slits roughly 2 cm long in the plastic where the mycelium looks thickest, or open the top of the box as your card describes. Fresh air touching the surface is the trigger; the slits are how you give it without letting all the moisture out.
Mist the inside walls of the box twice a day with clean, room-temperature water. You are humidifying the air, not watering the mushroom. Standing water on the block surface is what invites souring and yellow staining.
Tiny pins appear between day three and day ten. They look like grains of rice and they are easy to panic about because they sometimes appear, stop growing and then resume. That is the block balancing its own water, and the right response is to do nothing differently.
- Morning: five sprays into the box headspace, not at the pins.
- Evening: same again, and look at the walls. If there are no droplets, mist more.
- Twice a day: crack the lid open for a minute to change the air, then close it.
- Never: let the block sit in water in the bottom of the box.
Days 8 to 14: the flush, and when to pick
Once pins are established the flush grows fast, often visibly different every morning. Oysters widen their caps; Lion's Mane lengthens and thickens its spines; shiitake caps flatten from a tight dome.
Harvest just before the theoretical peak, not after. The signals differ by species, so learn the two that matter on your kit's card: caps that have stopped curling under at the margin, and the first sign of spores being shed on the surface below. Waiting a day too long costs you texture and a second flush.
Twist the whole cluster at the base and pull it away, or cut with a clean knife close to the block. Do not leave stems in the substrate: they rot, and rot invites the mould you will then blame the kit for.
Cooking note
Mushrooms are nearly all water and keep badly. Brown paper bag in the fridge, unwashed until the moment before they hit the pan, and eat within three or four days.
After the first flush: rest, soak, repeat
The block is not finished. It has spent perhaps a third of its water and a lot of its sugar making that flush. Give it five to seven dry days at room temperature with no cutting, no misting at the surface and no expectations.
Then soak it for 12 to 24 hours in clean cold water, weigh it down so it stays submerged, drain thoroughly and put it back where the first flush grew. Pins usually restart within a week. Two flushes from a kit is common, three is good, and anyone promising you a fixed weight is guessing.
When the block stops responding it is time to compost it. Spent substrate is one of the best things you can put in a compost heap or work into a flower bed, and it usually keeps cropping in the bed the following spring.
- Buy a thermometer-hygrometer before you buy a second kit.
- Keep one small notebook of dates and temperatures. It will explain more failures than any guide.
- Change one variable at a time, and give it three days before changing it again.
The short version
- Cut four 2 cm slits in the plastic where mycelium is thickest. Open the kit
- Mist the inside walls of the box twice a day with room-temperature water. Mist twice a day
- Crack the lid for a minute morning and evening to swap the air. Ventilate
- Twist the whole cluster at the base once caps stop curling under. Harvest
- Rest five to seven days, soak 12 to 24 hours, drain, repeat. Trigger flush two
Kit list for this guide
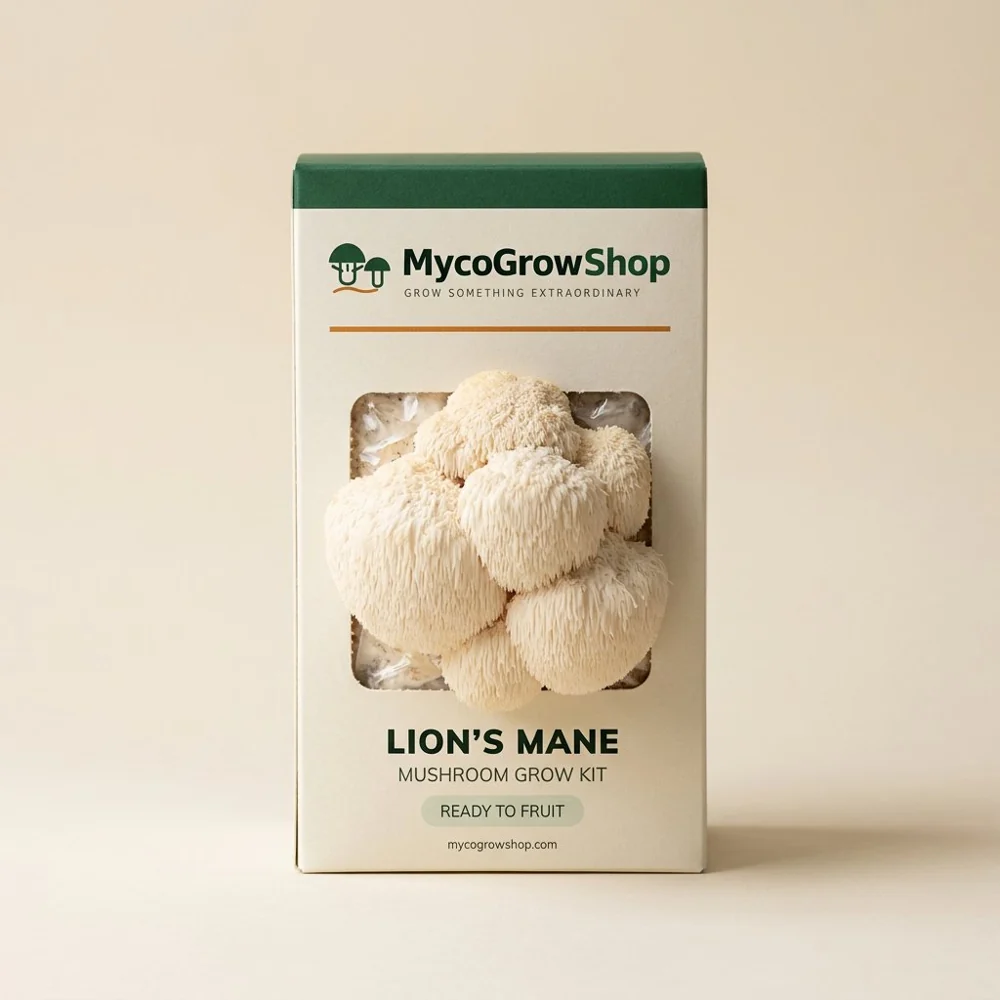 READY-TO-FRUIT GROW KITLion's Mane Ready-to-Fruit Grow Kit$42.00
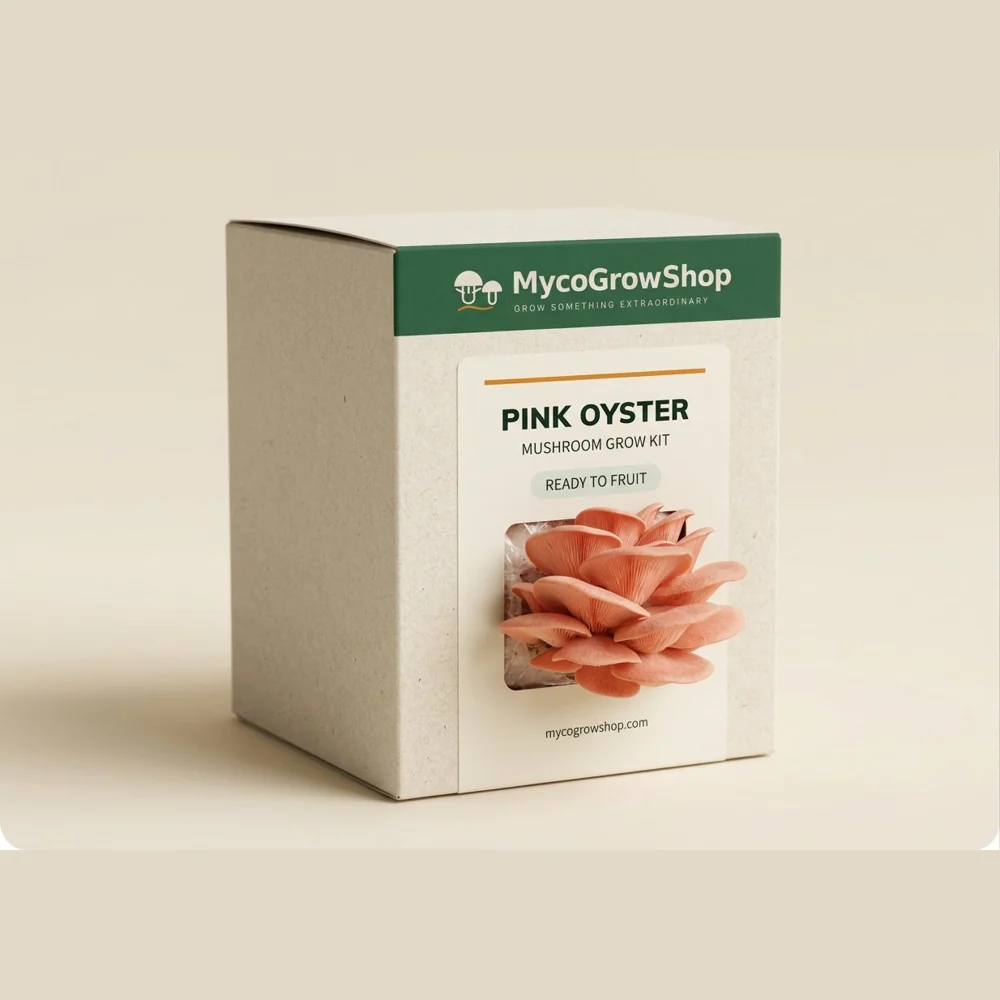 READY-TO-FRUIT GROW KITPink Oyster Ready-to-Fruit Grow Kit$36.00
 GROWING SUPPLYDigital Thermo-Hygrometer with Remote Probe$18.00
Written by the MycoGrow fruiting room. No claim here guarantees a harvest: a grow is a living thing in a room you control, and the room is the variable.
Leave a Reply