MycoGrowShop

Category: Growing guides

Instructions for first flushes: dates, temperatures and the two mistakes that end most grows.

  • Growing Mushrooms Outdoors: Logs, Wine Caps and Cold Frames

    The slow route: less equipment, less control, and a harvest in a completely different season from anything you can do on a shelf.

    What outdoors is genuinely good for

    Two things: species that want wood and time – shiitake and reishi on logs – and species that will eat a straw bed you would never waste indoors, above all wine caps. Outdoors the substrate is cheap and the season does the temperature control for you. What you give up is any schedule, and any certainty.

    If you want mushrooms for a specific dinner, grow indoors. If you want a patch of garden that occasionally produces dinner, outdoors is far more than a novelty.

    Log cultivation, honestly

    Cut hardwood in winter with the bark on, let it rest two to four months, then drill 8 mm holes in a diamond pattern about 10 cm apart and tap in colonised dowels. Seal each hole with food-grade wax or cheese wax, and keep the log off the ground on a rack or two bricks in shade. One 50-plug set does roughly a metre of 10 cm log.

    Timing is the part people underestimate: a fresh log will not fruit for a season or two while the mycelium runs through it, and then it crops for several years after. Soak the log during dry springs and stand it where it gets morning rain. Nothing you do in year one shows up in the harvest, which is precisely why the people who enjoy it are the people with patience for shelf growing.

    Which species

    Shiitake and reishi are the reliable log species. King trumpet and maitake will also work on inoculated hardwood in mild climates. Oysters on logs are possible and disappointing; buy straw or sawdust for oysters instead.

    Wine caps and straw beds

    Wine caps (Stropharia rugosoannulata) are the most forgiving outdoor mushroom because they are not fussy about pasteurisation: chop clean straw, soak it, pile it 15 to 20 cm deep in a shaded bed, distribute spawn through the top two-thirds, and keep the bed damp. Mulch a path with the leftover straw so the bed does not dry in summer.

    Expect the first flush in late spring, gaps through the heat of midsummer, then another in autumn, and the bed keeping productive for two or three years while the straw breaks down. The caps freeze to mush in hard frost and burst open after rain, so pick them when the margin is still curled.

    A cold frame or a shaded corner

    If you have a north side of a fence, a cold frame or a bed under a hedge, you already have a fruiting chamber. What you need is shade cloth in summer and a way to keep the surface from drying: a layer of loose straw over the top does both.

    What to expect in year one

    Outdoors, contamination is mostly a non-issue and control is mostly impossible. You will lose a bed to an unusually hot, wet month; you will find a flush three days after you forgot it existed; you will pick something and be unable to identify it.

    So: grow in a place you walk past daily, keep a written note of inoculation dates, and do not eat anything from an outdoor bed you cannot positively identify – including by your own cultivated species name on the label. If there is a wild mushroom in the bed that did not come from your spawn, that is a lesson for an forager, not a prize for you.

    Then enjoy the part that nobody can put in a listing: an outdoor log needs feeding twice a year and produces for a decade, while a shelf kit is a fortnight's entertainment.

    The short version

    1. Cut hardwood in winter, rest 2–4 months, bark on. Get the log
    2. Drill 8mm holes 10cm apart in a diamond pattern. Drill
    3. Tap in dowel spawn flush, seal with wax. Inoculate and seal
    4. Shade, rack off the ground, soak in dry springs. Care

    Kit list for this guide
    Written by the MycoGrow fruiting room. No claim here guarantees a harvest: a grow is a living thing in a room you control, and the room is the variable.
  • Still Air: How to Work Clean Without a Laminar Flow Hood

    You do not need a laboratory. You need dead-calm air, a wiped-down surface and a sense of what not to breathe over an open jar.

    What still air is, and why it is the whole trick

    Contamination in home growing is mostly falling spores and dust carried on moving air. A laminar flow hood beats that with a wall of filtered air. A still air box beats it by simply having no moving air at all, and for the scale most people work at – jars, bags, a bucket of grain – a clear plastic box with armholes is honest engineering rather than a compromise.

    The alternative is a bathroom after a hot shower with the door closed: the steam drops the airborne particles to the floor for about half an hour. It is not a sterilisation method, it is a still-air method, and it is free. Wait for the surfaces to stop streaming before you work, or you will waterlog your grain.

    The setup, in the order that works

    1. Close the room. Windows shut, extractor off, fans off, pets elsewhere.
    2. Wipe the work surface and your forearms with 70 % isopropyl and let it flash off – alcohol works wet, not as a smell.
    3. Flame the neck of a jar or the blade of a scalpel only if you are experienced enough to not panic when the alcohol runs. Otherwise skip flames entirely and rely on still air.
    4. Everything open stays in the box: jar lids off, bags rolled open, spoons inside. Nothing goes in and out of the box while a container is open.
    5. Work quickly and boringly. The exposure time is what you are minimising, not the tidiness of the bench.

    The habit that costs the most crops

    Talking, coughing and leaning over an open jar. Put the lid back on before you answer the door. Every time.

    A simple grain-to-bag workflow

    Break up a colonised jar in still air, tipping it rather than scraping it with anything that has been on the bench. Pitch roughly a tenth of the wet substrate weight, more if the grain is slow or the bag is cold. Mix without opening the bag wider than your fist will fit through – most home bags are contaminated at the fold, not in the middle.

    Seal with micropore tape so gas moves and spores do not. A patch on the top face, never buried in wet substrate. Then leave it alone in the dark at the temperature on the species listing, and check it once a day rather than four times.

    If you only learn one judgement call, learn this one: a colonising bag that is 20 % white and stable is going well. A bag with dry, fluffy white growth on the surface of the grain while the substrate beneath stays brown and smells sweet is usually fine. A wet, discoloured, sour patch is done – bag it and take it outside.

    What is actually worth buying

    • A still air box – the highest return per dollar in the whole catalogue.
    • 70 % alcohol and paper towels – not 91 %, which evaporates before it has worked.
    • Micropore tape – because packing tape on a filter bag is a mould incubator.
    • A scalpel with replaceable blades – a dull blade slips and tears plastic, which is a hole you will not see until day six.
    • A thermometer-hygrometer – so that arguments with your own setup are settled with numbers.

    Skip for now: laminar flow carts, agar plates, polysorbate, a second pressure cooker. Learn one cycle in still air, then add equipment for the specific problem it showed you.

    The short version

    1. Close the room; stop all air movement. Still the air
    2. Wipe surfaces and hands with 70% isopropyl; let it flash off. Wipe down
    3. Keep every open container inside the box, lid on before you step away. Work inside the box
    4. Seal with micropore tape, incubate dark, check once daily. Seal and wait

    Kit list for this guide

    Written by the MycoGrow fruiting room. No claim here guarantees a harvest: a grow is a living thing in a room you control, and the room is the variable.
  • Why Mushroom Flushes Fail, and What to Change Today

    Six symptoms that account for most of our support mail, each with the one variable to change rather than five.

    Long stems, tiny caps

    This is carbon dioxide. The mushroom is reaching for air exchange, and it will do it in a sealed tent at any temperature on earth. Change one thing: fresh air. Open the lid fully twice a day, or point a small fan at the wall of the chamber so the air turns over without blowing on the fruit.

    Do not fix it by lowering the humidity – pins will dry and abort instead, and you will have solved one symptom by causing a worse one. For king oyster and lion's mane, expect this on the first grow and get used to reading the shape as feedback.

    Pins appear, then shrivel and stop

    Abortion is nearly always water moving the wrong way: either the pins dried out because the humidity dropped while they were expanding, or the block is waterlogged and the surface has soured.

    Raise humidity above 85 % and stop misting the pins directly – mist the walls and the air. If there is free water pooling in the bottom of the box, tip it out, stand the block on a rack or a bottle cap, and leave the lid cracked for a day.

    The third cause people miss

    A cold draught across the tent. A north-facing windowsill in February will abort a whole shelf while the middle of the room reads a perfect 19 °C. Measure at the block, not at the wall.

    Yellow or wet-looking surfaces

    On lion's mane, a yellow drip on the spines means either too much water sitting on the fruit or the mushroom releasing spores because it is over-mature. Dry the surface, mist the air only, and harvest.

    Elsewhere, a slimy sheen with a sour smell is bacterial blotch. Remove the affected fruit, cut the humidity and surface water back, and improve the air exchange. A block with a sour smell throughout is finished: compost it rather than trying to rescue it.

    Green, black or pink patches in the substrate

    That is contamination, and there is no technique that saves an open bag of it. Do not open it in your kitchen: bag it, take it outside, and dispose of it. Mould spores released in a small room will simply find your next block.

    Then work backwards honestly. Green mould usually means one of three things: work done in moving air, substrate that was pasteurised when it needed sterilising, or a bag left open while you went to find something. Two of the three are solved by a still air box, which is why we list one under beginner essentials.

    Nothing is happening, and the block is white

    A fully colonised block that will not pin is usually not warm enough, not cool enough, or not getting the trigger it wants. Species are picky in different directions: oysters and lion's mane want a couple of degrees of swing between day and night; shiitake wants a cold rest of five to seven days; king oyster wants both that and much more air.

    Give it a soak to rehydrate, rest it five days dry, then return it to the temperature the listing names and stop touching it for a week. Most 'dead' blocks produce within eleven days of somebody leaving them alone.

    A fine white powder on the plastic, then on everything

    That is wet or dry spore fall from an over-mature crop, and if you let a flush go that far in an unventilated room it settles on the shelves, the fan and the next block. Harvest earlier – this is the same advice as for yellowing, and it is the reason we tell you to pick before the caps flatten.

    If you are sensitive to mould or you are growing in a bedroom, do not run a sporing crop there. It is not a mushroom problem, it is an air problem, and it is entirely avoidable by picking on time.

    Medical note: if you are immunocompromised, talk to a clinician before keeping fruiting blocks indoors. This is a genuine question, not a disclaimer, and we would rather you asked.

    The short version

    1. Point a fan at the chamber wall, twice daily air changes. For long stems
    2. Raise humidity above 85%, mist air not fruit, drain pooling water. For aborted pins
    3. Bag and dispose outside; do not open it indoors. For green mould
    4. Soak 12–24h, rest 5 dry days, then leave it alone a week. For a silent block

    Kit list for this guide

    Written by the MycoGrow fruiting room. No claim here guarantees a harvest: a grow is a living thing in a room you control, and the room is the variable.
  • Pasteurise or Sterilise Substrate? A Plain Answer

    The two treatments are not interchangeable, and which one your mix needs depends on one ingredient: how much supplement is in it.

    Why any heat treatment at all

    Substrate is food. Whatever you do not eat, a hundred other organisms will, and most of them grow faster than mushroom mycelium does. Heat is how you clear the field first. It is not about sterility for its own sake, and it is not about being clinical: it is about giving your culture a two-week head start.

    Pasteurisation is a bath around 60 to 80 °C for 45 to 90 minutes. It knocks the population down, kills most moulds and their spores, and deliberately leaves heat-tolerant bacteria alive. Those bacteria are largely harmless to a vigorous oyster running through plain straw or unenriched pellets.

    Sterilisation is steam under pressure at about 121 °C for 90 minutes or more. It kills essentially everything, which is what an enriched, high-nitrogen mix needs, because that mix is a better bacterial culture medium than it is a mushroom one.

    The rule, in one line

    <b>Pasteurise plain, unenriched substrate. Sterilise anything with supplement in it.</b>

    Straw and 100 % hardwood pellets: pasteurise. Any blend with soy hull, wheat bran, bran pellets or Master's Mix in it: sterilise under pressure. Getting this backwards is the most reliable way to grow green mould, and it is the mistake that makes people conclude that growing at home does not work.

    On the word ‘sterile’

    We do not sell anything described as sterile, and a hydrated substrate bag from us is not sterile – it is prepared. Home equipment does not achieve lab sterility, and anyone claiming it for a five pound bag is selling you confidence, not practice.

    How each one is actually done at home

    Pasteurising in a stock pot is the beginner route for oysters: heat water to about 65 to 70 °C, submerge the chopped straw or pellets in a pillowcase or mesh bag, hold it there for an hour with the lid on and the pot off the burner, then drain until no water runs out. Cool to the touch before spawn goes anywhere near it.

    Sterilising needs a pressure cooker rated for it: bags filled two-thirds, folded and taped, not touching the pot's walls, brought up to 11 to 15 psi and held 90 minutes for a 5 lb bag. Then – and this is the part nobody enjoys – cool overnight inside the turned-off pot or a clean room. Inoculating a warm bag cooks the spawn.

    Field capacity, the test that matters more than the timer

    Squeeze a handful of hydrated substrate hard for 30 seconds. Correct: the ball holds together, your palm is damp, but no water drips. Too wet: drips, and the block will sour and colonise poorly from the bottom up. Too dry: it crumbles apart, and mycelium cannot run through it.

    Hydration is where most home batches are actually lost. Getting moisture right makes a pasteurised batch forgiving; getting it wrong makes a sterilised batch fail anyway.

    What the failures look like

    • Bright green patches – Trichoderma, almost always from supplement plus pasteurisation instead of sterilisation, or from work done in moving air.
    • Sweet, sour or fermenting smell with no growth – bacterial bloom from waterlogged substrate.
    • White growth that stays exactly where you left it – the bag was not hydrated enough for the mycelium to run, not contamination.
    • Colonisation that stalls at 70 % – usually cold. Move it up two degrees before you blame the culture.

    Write the diagnosis down next to what you did. After three batches you will have a better method card than any printed one, and it will be specific to your kitchen.

    The short version

    1. Chop straw or hydrate pellets to field capacity. Prepare
    2. Pasteurise 60–80 °C for 45–90 min, or sterilise 121 °C / 90 min if supplemented. Heat
    3. Drain until a squeezed handful shows no drips. Drain
    4. Cool fully to the touch, then mix spawn at 5–10% of wet weight. Inoculate
    5. Fold, tape with micropore and incubate in the dark. Seal and wait

    Kit list for this guide

    Written by the MycoGrow fruiting room. No claim here guarantees a harvest: a grow is a living thing in a room you control, and the room is the variable.
  • The Best Mushrooms to Grow at Home for First-Time Growers

    Four species we recommend on purpose, two we do not, and the room conditions that decide it before you even buy anything.

    The rule that matters more than the species

    Buy the mushroom that fits the room you have, not the mushroom you like to eat. Nearly every beginner failure we are emailed about is a warm-room species in a cold flat, or a cool-room species on a shelf above a radiator. Mycelium tolerates a wide range; fruiting bodies do not.

    So before anything else, note your chosen spot's temperature twice a day for three days. If it sits between 18 and 24 °C you can grow almost all of our catalogue. If it runs cooler than 16 °C you want blue oyster or shiitake. If it never drops below 25 °C in summer, pink and golden oyster or reishi are the honest answer.

    Start with one of these four

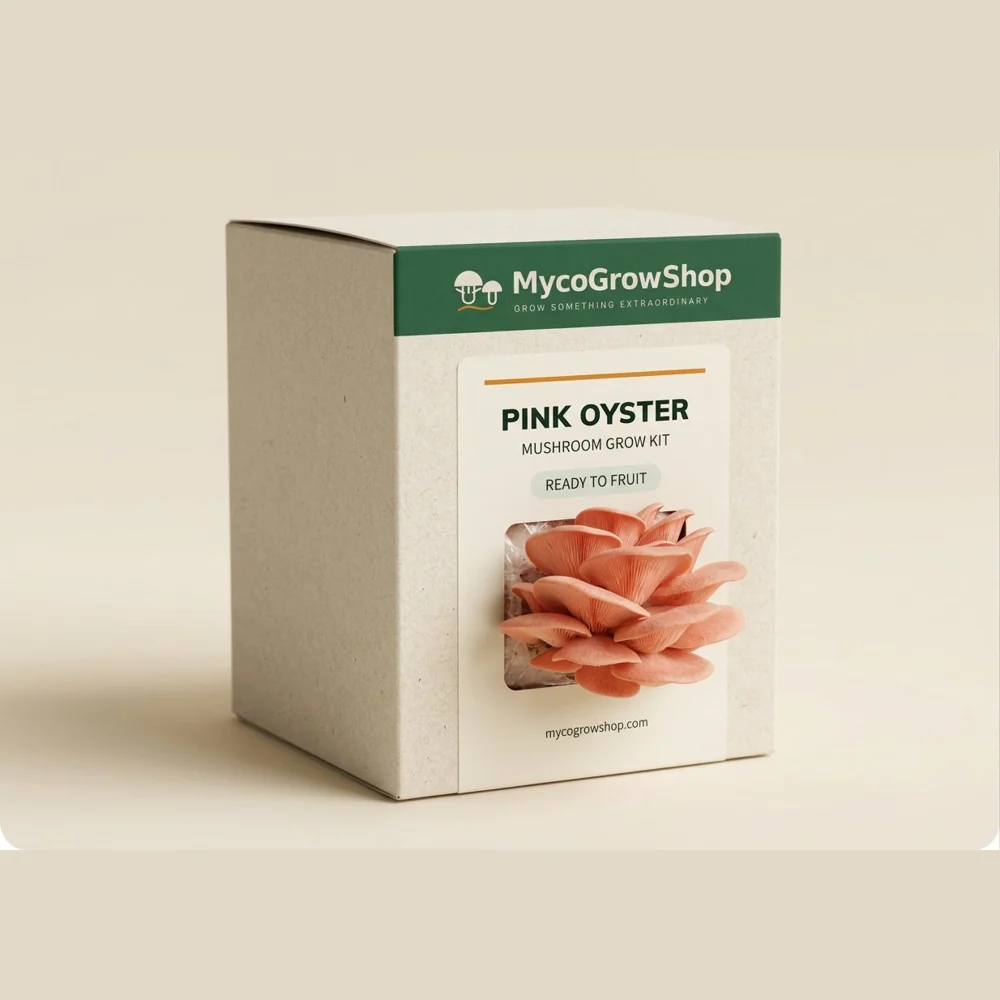
    <b>Pink oyster</b> is the fastest teacher. It colonises in days rather than weeks, fruits in warm air, forgives a missed misting and shows you what a healthy flush looks like so that every later grow has a reference point. Its one real limitation is shelf life: eat it within two days.

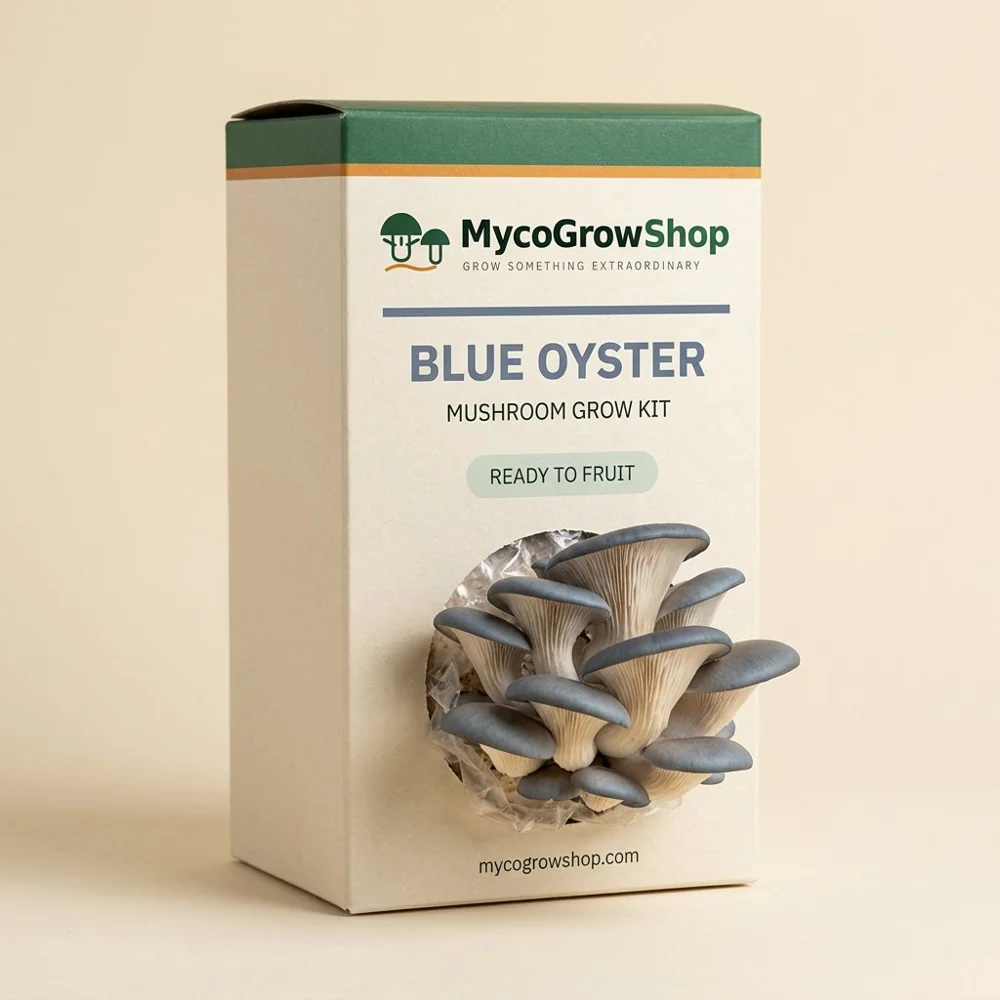
    <b>Blue oyster</b> is the same species group with the opposite temperature preference, and the most forgiving thing to put in a cool hallway, cellar or shaded porch in winter. Heavy crops, slightly stronger flavour, caps that turn grey if the room runs hot.

    <b>Golden oyster</b> suits a warm flat and rewards you for it, with the same low-effort behaviour as pink and a nuttier taste. Thin caps mean it dries out faster than blue, so hold the humidity.

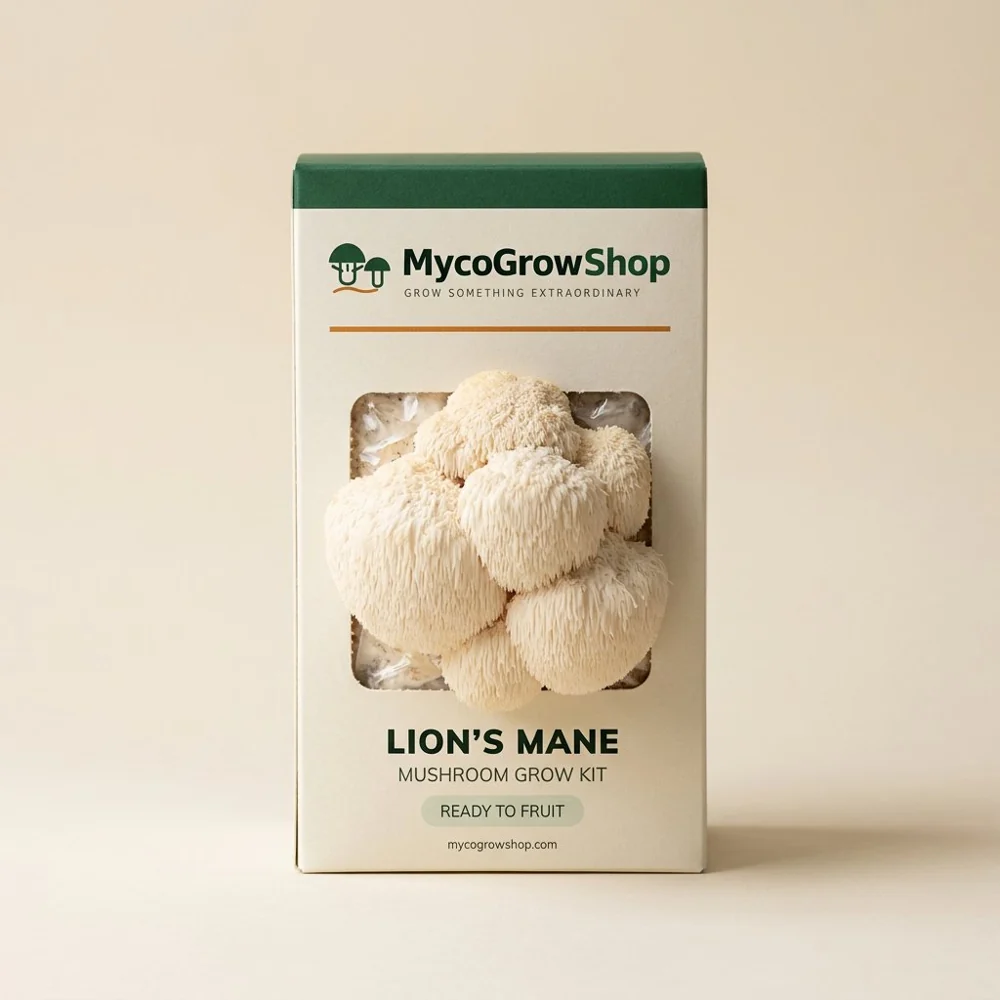
    <b>Lion's mane</b> is the beginner's exception: a genuinely fussier species that almost everyone still enjoys, because it looks remarkable, fruits on a shelf in a moderate room and gives you a visible signal – spine length – for how the grow is going. Treat a yellow tinge as a misting problem, not a disease.

    If you want the cheapest lesson

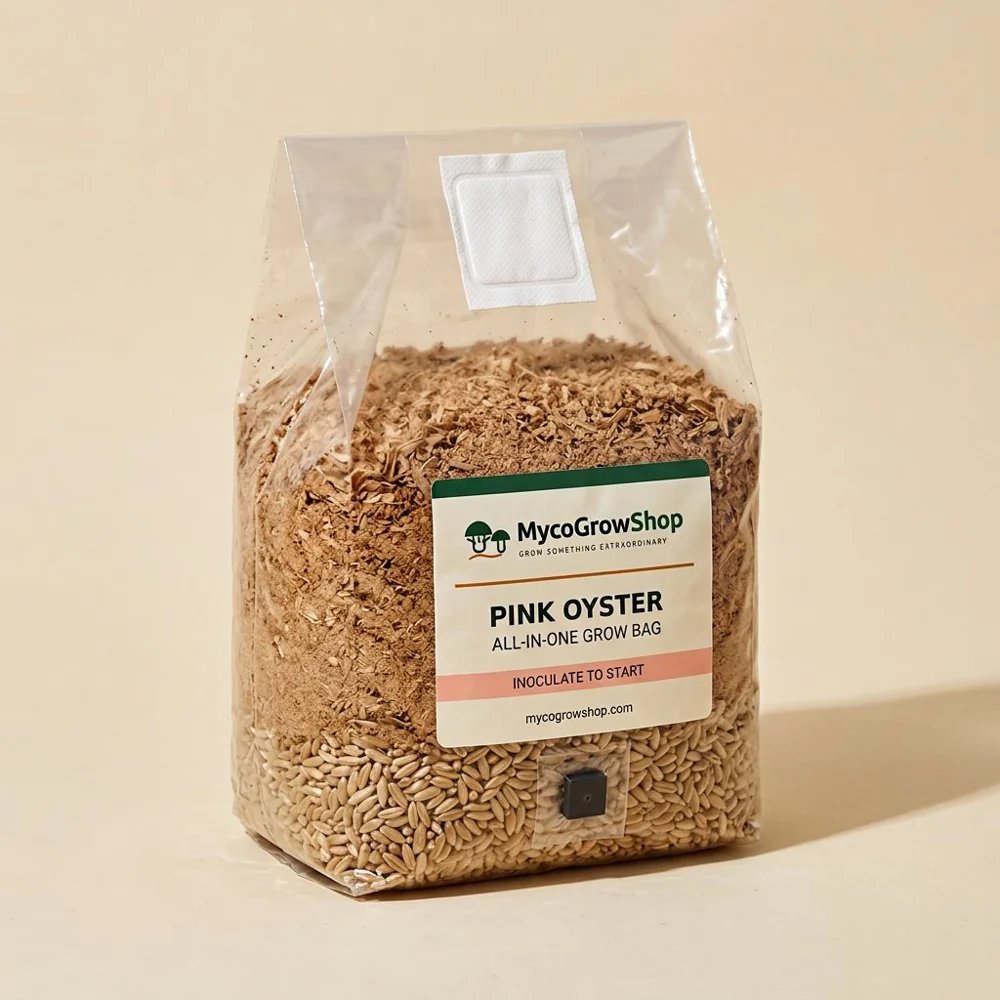
    One all-in-one grow bag of pink oyster costs less than two kits and teaches you inoculation, incubation and fruiting in one go. The downside is three to four weeks of waiting before you know whether it worked.

    Two to leave until your second or third grow

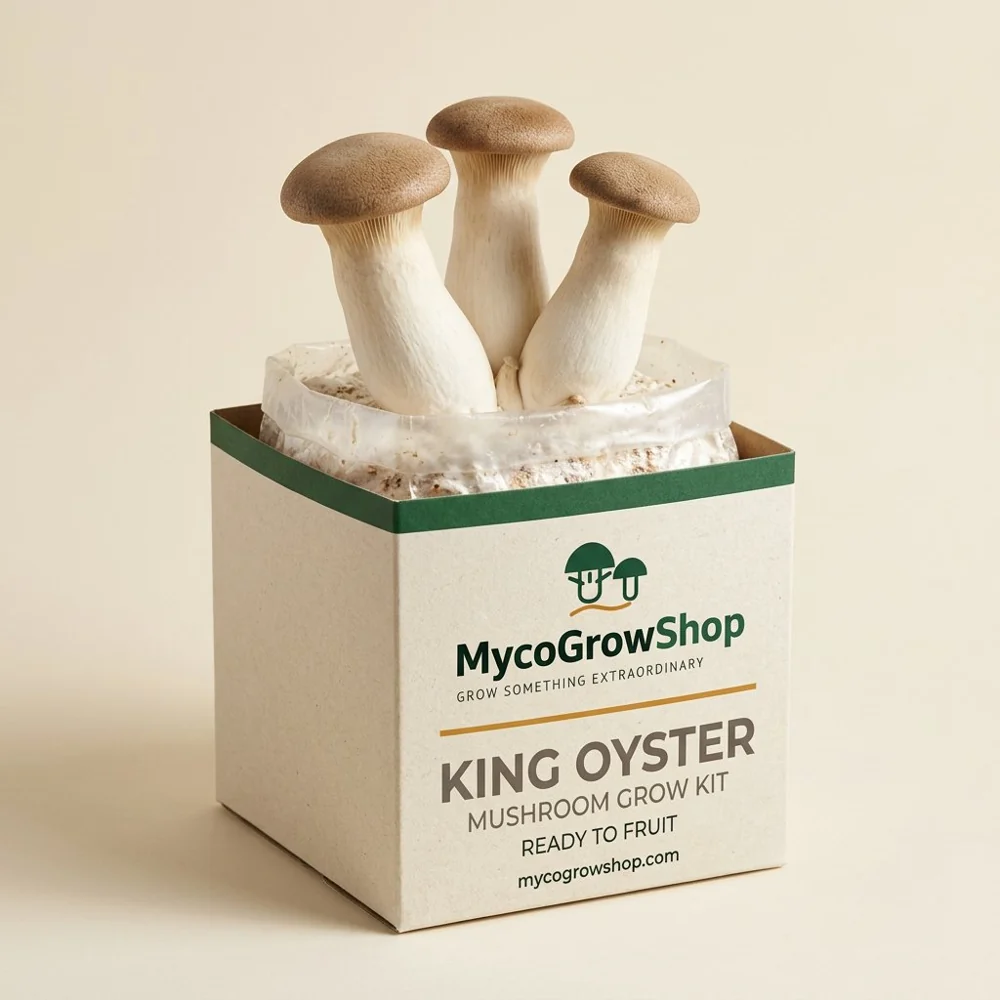
    <b>King oyster</b> is the one we argue people should not buy first. It needs cool fruiting air, a lot of fresh air and a patient hand, and it produces exactly the disappointing long-stemmed, small-capped result when any of the three are missing. Grown well it is the best texture in the catalogue. Grown in a closed box on a warm shelf it is a lesson you pay $46 for.

    <b>Shiitake</b> is not difficult so much as slow. A block wants a long, undisturbed colonisation and a rest before it pins, and beginners commonly interpret that silence as failure, cut the slot early, mist it to death and give up two weeks before the flush arrives. Buy it as a colonised block, and you skip the part that breaks people.

    Reishi sits outside both groups: it is a warm, slow, medicinal mushroom that you dry rather than cook, and it is a good second or third project for anyone with a heated airing cupboard and no interest in dinner mushrooms.

    Quick comparison

    Species Fruiting air Difficulty Best first buy
    Pink oyster 18–26 °C Easy Kit or all-in-one bag
    Golden oyster 18–27 °C Easy Kit
    Blue oyster 10–18 °C Easy Kit in a cool room
    Lion’s mane 16–22 °C Moderate Kit
    Chestnut 12–18 °C Moderate Block
    Shiitake 12–21 °C Slow Colonised block
    King oyster 13–18 °C Harder Third grow
    Reishi 21–29 °C Slow Second grow

    Difficulty here means how much a small mistake costs you, not how clever the mushroom is. Every species on that table is being grown by someone in a rented room with one shelf.

    The short version

    1. Record the spot's temperature twice a day for three days. Measure the room
    2. Match the species to that range, not to the menu. Pick the species
    3. Buy a kit for the first flush, a bag for the technique. Choose format
    4. Change one variable at a time and wait three days. Adjust

    Kit list for this guide

    Written by the MycoGrow fruiting room. No claim here guarantees a harvest: a grow is a living thing in a room you control, and the room is the variable.
  • Your First Mushroom Grow, Week by Week

    What to open, cut, mist and harvest, in the order it actually happens. Written for a ready-to-fruit kit on a kitchen shelf, which is the grow almost everybody should start with.

    Day one: what arrives and what you do about it

    A ready-to-fruit kit is a block of substrate that mycelium has already finished eating. It arrives white and firm, sometimes with a few pinheads already forming in the corners. The only urgent decision on day one is where it will live, because moving it afterwards disturbs the first flush more than people expect.

    Pick a spot at the temperature on your label, out of direct sun, off a draughty windowsill and not in front of the kitchen extractor. A shelf in a north-facing room, a bathroom that gets used, or the top of a pantry all work. Put the box on a plate or tray, because you will be spraying water near it twice a day.

    If the block has a dry, skin-like surface, that is normal and not a fault. Do not soak it, do not scrape it and do not refrigerate a kit that is already fruiting.

    The single most common day-one mistake

    Opening the bag completely because you want to see the block. The bag is what holds humidity against the surface. Cut the slits, then leave it alone for two days.

    Days 2 to 7: slits, misting and the first pins

    Cut four slits roughly 2 cm long in the plastic where the mycelium looks thickest, or open the top of the box as your card describes. Fresh air touching the surface is the trigger; the slits are how you give it without letting all the moisture out.

    Mist the inside walls of the box twice a day with clean, room-temperature water. You are humidifying the air, not watering the mushroom. Standing water on the block surface is what invites souring and yellow staining.

    Tiny pins appear between day three and day ten. They look like grains of rice and they are easy to panic about because they sometimes appear, stop growing and then resume. That is the block balancing its own water, and the right response is to do nothing differently.

    1. Morning: five sprays into the box headspace, not at the pins.
    2. Evening: same again, and look at the walls. If there are no droplets, mist more.
    3. Twice a day: crack the lid open for a minute to change the air, then close it.
    4. Never: let the block sit in water in the bottom of the box.

    Days 8 to 14: the flush, and when to pick

    Once pins are established the flush grows fast, often visibly different every morning. Oysters widen their caps; Lion's Mane lengthens and thickens its spines; shiitake caps flatten from a tight dome.

    Harvest just before the theoretical peak, not after. The signals differ by species, so learn the two that matter on your kit's card: caps that have stopped curling under at the margin, and the first sign of spores being shed on the surface below. Waiting a day too long costs you texture and a second flush.

    Twist the whole cluster at the base and pull it away, or cut with a clean knife close to the block. Do not leave stems in the substrate: they rot, and rot invites the mould you will then blame the kit for.

    Cooking note

    Mushrooms are nearly all water and keep badly. Brown paper bag in the fridge, unwashed until the moment before they hit the pan, and eat within three or four days.

    After the first flush: rest, soak, repeat

    The block is not finished. It has spent perhaps a third of its water and a lot of its sugar making that flush. Give it five to seven dry days at room temperature with no cutting, no misting at the surface and no expectations.

    Then soak it for 12 to 24 hours in clean cold water, weigh it down so it stays submerged, drain thoroughly and put it back where the first flush grew. Pins usually restart within a week. Two flushes from a kit is common, three is good, and anyone promising you a fixed weight is guessing.

    When the block stops responding it is time to compost it. Spent substrate is one of the best things you can put in a compost heap or work into a flower bed, and it usually keeps cropping in the bed the following spring.

    • Buy a thermometer-hygrometer before you buy a second kit.
    • Keep one small notebook of dates and temperatures. It will explain more failures than any guide.
    • Change one variable at a time, and give it three days before changing it again.

    The short version

    1. Cut four 2 cm slits in the plastic where mycelium is thickest. Open the kit
    2. Mist the inside walls of the box twice a day with room-temperature water. Mist twice a day
    3. Crack the lid for a minute morning and evening to swap the air. Ventilate
    4. Twist the whole cluster at the base once caps stop curling under. Harvest
    5. Rest five to seven days, soak 12 to 24 hours, drain, repeat. Trigger flush two

    Kit list for this guide

    Written by the MycoGrow fruiting room. No claim here guarantees a harvest: a grow is a living thing in a room you control, and the room is the variable.